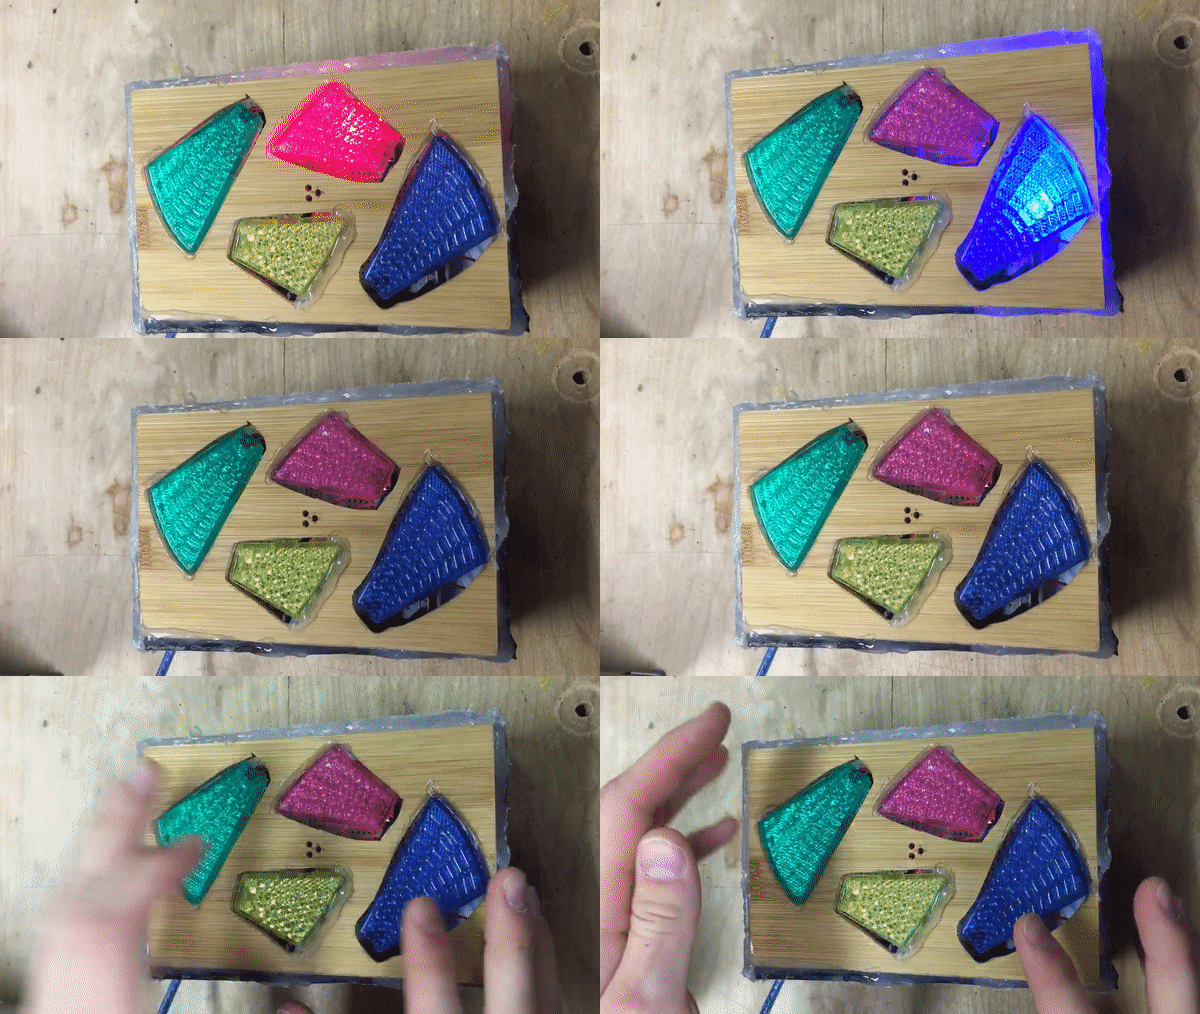
OVERVIEW –
Bryce Wiseman and myself were inspired to create this project by the classic, electronic memory game, Simon. When the game is in standby, the LEDs flash in a circular motion. Once a button is pressed, however, one of the buttons lights up and you have 500 milliseconds (5 seconds) to copy that sequence. If you succeed in doing so, another input is added to the sequence. If you cannot, however, the game is over, and you have to start from the beginning. Our iteration is programmed so that if you can complete 10 rounds, you win.
INPUTS & OUTPUTS –
The design that we came up with has only 4 inputs. Those being the four pushbuttons that are used to translate the user’s selection to the Arduino. The outputs for this device consist of the four LEDs that light up as indicators of which button to push in order to progress, and a small piezo sound sensor, which is being used as a buzzer to indicate certain events, such as a button lighting up or the player losing. It should be noted that the sound sensor could technically count as an Input, but in the context of our project, it was not functioning as such.
Construction –
When we were brainstorming ideas for the construction of this project, we both came to the conclusion that we wanted to try and construct something that was visually appealing and as compact as we could manage. We utilized the buttons from an old Simon Squared game that I had previously deconstructed, as they were colorful and refracted the light rather well. At first I attempted to construct the face of the game with black Acrylic, but it turned out being to brittle to cut properly and would often melt instead of make a clean separation. Since precision was needed to make the buttons align properly we used wood for the face instead. However, because we wanted a sleek look, we went back to the Acrylic for the rest of the box. The hardest part about this construction was insuring the breadboard was in alignment with the buttons on the face. If you were to look at the wiring for this device, it is a mess. Because the push pins on the buttons are in awkward spots, building a circuit around that was a bit of a hassle. The shape of the circuit was determined by the buttons, and it shows. However, where the wiring may be a bit unconventional, it makes up for it in functionality. I feel it could be easily cleaned up if an actual circuit board were constructed.
Software –
We were fortunate to find an example to follow for our software on Spark Fun’s website. We definitely did not just copy and paste the program, but it did heavily guide us in the process of constructing the code for our device. I will be honest, I understand it from a conceptual point of view, I understand how the functions are producing the effects, but there are a few intricacies of the software that I do not exactly understand. This is largely due to the fact the Bryce and I split the work, with him focusing more on software and myself on hardware. Secondly, this code uses some internalized functions that I had not had experience with before this point and some of the functions we constructed were quite intricate with a complex set of state machines. After studying over it, I understand what is occurring in each state and how that is being accomplished, but there are still some preloaded functions that I am still unsure about what they do.
Problems/Changes –
As mentioned previously, the biggest hassles I ran into during this project were during the construction phase. Alignment was crucial and difficult to accomplish. Something I am a bit proud of was finding a way to attach the buttons to the face while also providing a “springy” response. There are small tabs on the back of each button, and I used hot glue to hold them in place while leaving the rest of the button free floating. When pressure was applied to the front, it would bend forward and then bounce back into alignment when released, due to the back half being stationary. There are several improvements, looking back that I would make, most being cosmetic or making it more compact (as originally intended). However, the biggest improvements we discussed were including a 7 segment LED to display the round number, a different means of powering the device as it only runs of the USB connection to the Arduino currently, and actually making a means to open the box, as Bryce’s arduino is currently being held prisoner inside. 
